Our kitchen table and buffet are from Ikea. When I purchased this furniture I thought it would do for a few years until I could get what I really wanted. We were in a new house and what I really wanted at that time was something that matched and was affordable. It is from the Leksvik line and is pine. The table was less than $200 and the buffet was only $99 as I purchased at a damaged box sale. Despite the banged up box it ended up being just fine. The nook has looked like this for many years:
I've never *loved* this furniture (nor has hubby, he hates Ikea) but replacing it has never been a priority. Over the years it has served us fine and I like the glass doors and display shelves. When my friend and fellow thrifter Charlene first suggested I paint the buffet I was totally opposed and didn't think it would be worth the effort. Over time the idea grew on me. I had hung the subway art sign in the nook and really liked the black and white in there. I decided to go for it and started with the table. Although sanding away years of kids handwriting from homework sessions at the kitchen table was a little sad, I was really happy with the end result.
I took a couple days break after finishing the table before starting on the buffet, which took much longer due to the doors, drawers, and shelves. I started the buffet about 2 weeks ago and was happy to see furniture being painted white all over blogland. The only white furniture we have in our house is in my craft room and after priming it was looking REALLY white and I was nervous. I used Pittsburgh Paint Cookie Crumb which is quite creamy, while still 'white' if that makes any sense. I thought about distressing the edges but wanted a modern look despite the shape of the piece. In it's original state it always seemed really traditional looking. I think it is much more transitional in white.
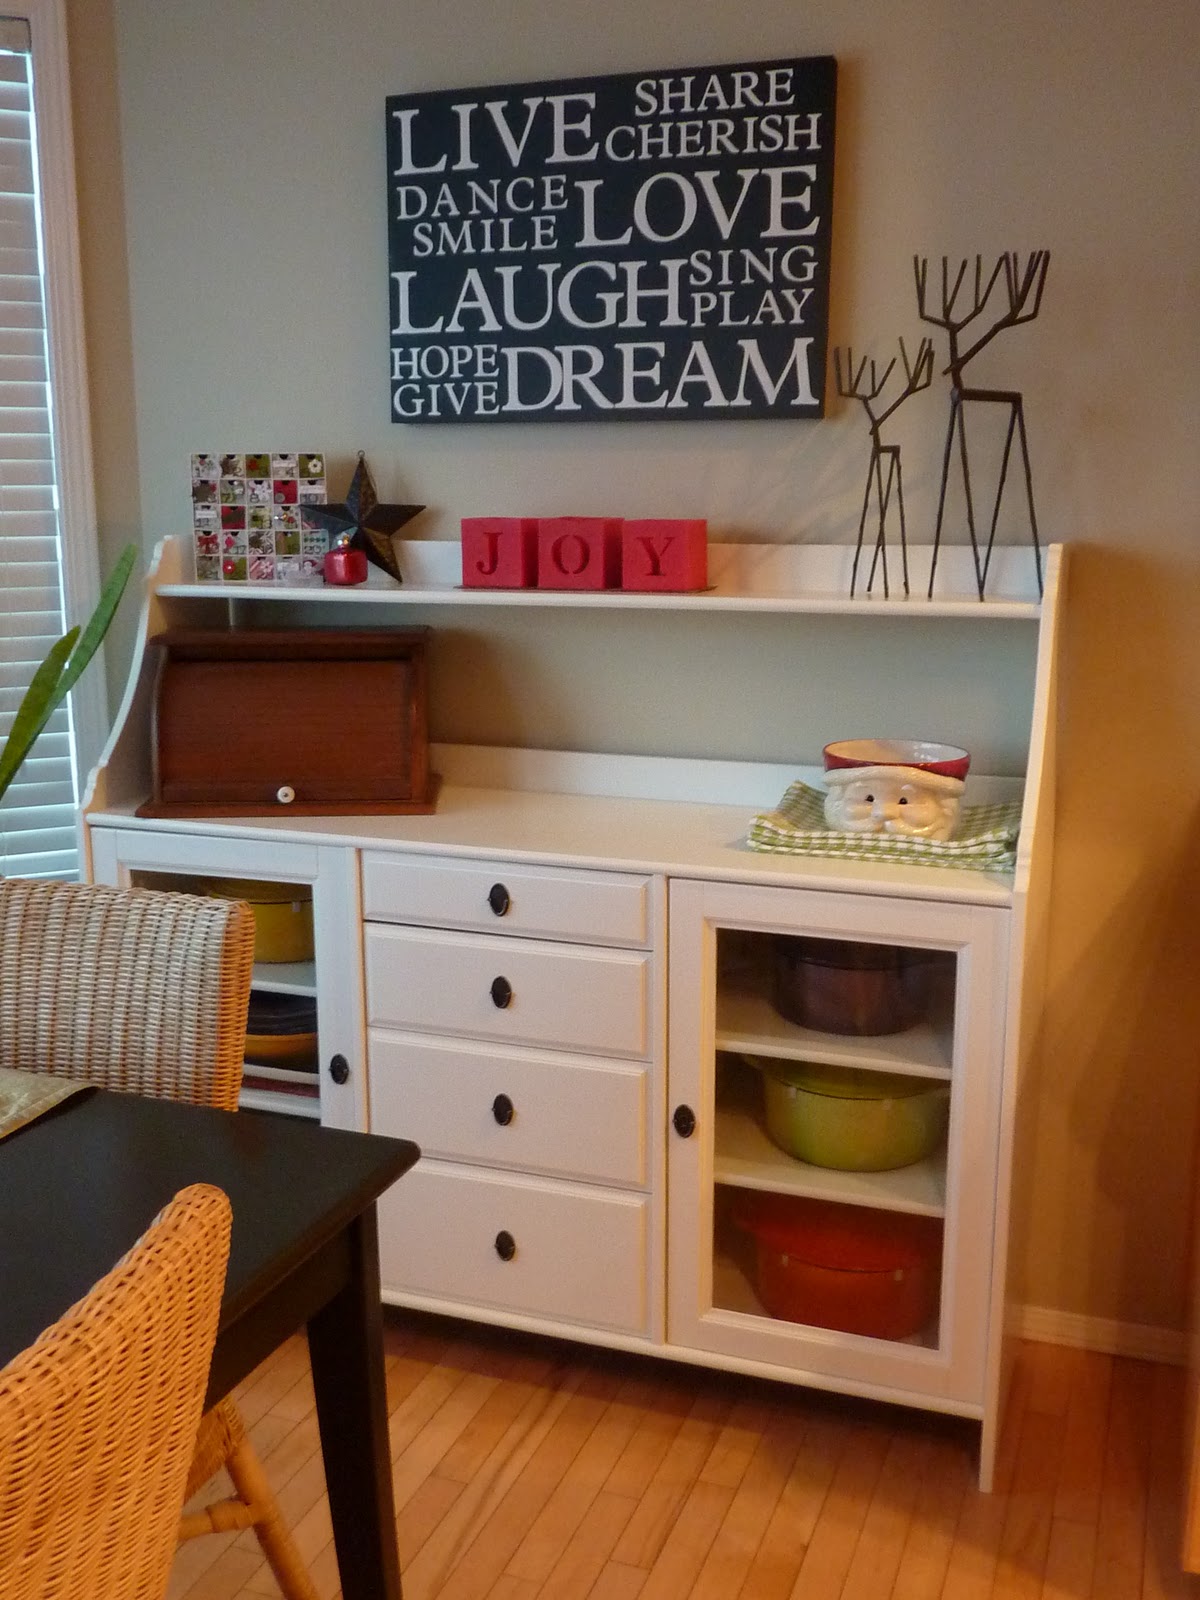
Anyways, I finally finished a little over a week ago and got it back into place. It was *not* love at first sight and I freaked a bit wondering if I had made a big mistake. However, after decorating it and putting my beloved french ovens back in place, I was(and remain)totally SMITTEN. It feels like we got new furniture.
My husband hung a new drum pendant to complete the nook makeover. I debated changing out the chairs but I think their neutral colour balances out the black and white against our maple kitchen. When I look at the before pics I can't believe what a difference painting made. I'm still not sure this set is what I want long term, but I think we'll get at least a few more years out of it yet :)
Although I finished this more than a week ago I'm linking to Primitive & Proper's Piece of Work Wednesday (I didn't get a chance last week). I cannot tell you how helpful Cassie's prepping and priming advice was. The last piece of furniture I painted was my son's baby dresser when I was pregnant (he turned 15 on Sunday!) so was VERY rusty. But trust me, if I can paint furniture ANYONE can.
Another valuable resource was this post on Young House Love.
Thanks so much for peeking and if I've managed to hold the attention of my crafty pals to this point I hope this explains my lack of posting things of a crafty sort lately!
The more passions and desires one has, the more ways one has of being happy. Charlotte-Catherine
Tuesday, December 21, 2010
Monday, December 6, 2010
Winter Porch
I've been enjoying changing up the front porch since I first decorated it here and here.
Here's the winter version:
I've had the red berry wreath forever and that was my starting point
The $5 urns proved useful once again. Not sure my sister is ever getting these from me!
The little red lantern on the table was a recent thrift store find. The pillows were rescued from the garage sale pile.
This might be my favourite part of the porch, the greenery in this milk jug vase.
I'm linking up to Thrifty Decor Chick's before and after party I seriously can't wait to check out this month's entries. The thumbnails look amazing.
Here's my most recent "before"
Thanks for peeking!
Labels:
before and after,
DECORATING,
Home,
porch decorating,
red berries,
winter porch
Sunday, October 31, 2010
Happy Halloween!
Another year Halloween snuck up on me.
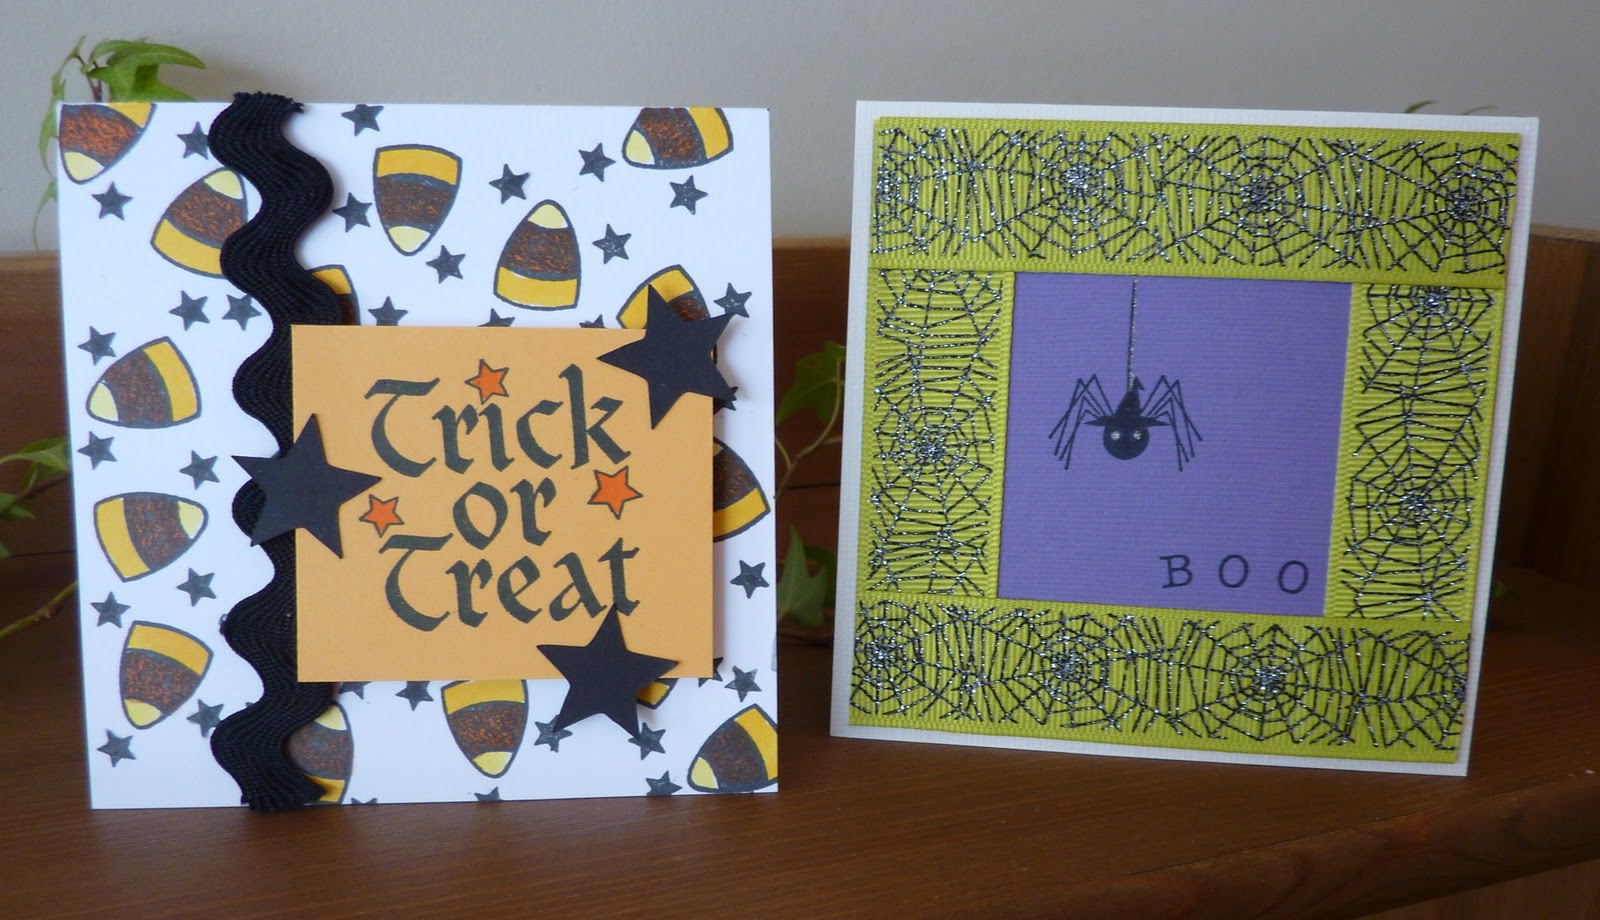
Here's a couple of mini cards I made, pretty much the extent of my Halloween crafting. I had so many crafty plans...maybe next year.
Thanks for peeking...I'm off to carve pumpkins before the ghosts and goblins get here. Some people start coming around 5pm in my neighbourhood!
Thursday, October 28, 2010
Subway Art Sign
ETA: I decided to share this with Sarah's Before and After party on the Thrifty Decor Chick site.
I was feeling a little ambitious on Sunday and decided to try my hand at a Subway Art sign. I've long since admired them all over blog land and had been meaning to make one some day. Well, that some day was Sunday...and Monday...and Tuesday...AND Wednesday! I am generally more of an instant gratification kind of girl and don't usually have the patience for a four day project.
For the most part I followed this tutorial, except I used a canvas instead of wood and cut the letters out on my Cricut.
Before:
I used this old printed canvas rescued from the garage sale pile in the basement. (So glad now I didn't actually have that garage sale this summer!)
I had to prime it MANY times due to the bright colours underneath.
Lining up the letters (Monday night). This process took a long time as once measured I had to place them back on a cutting mat to apply transfer tape over top, then back to the canvas to adhere. Despite careful measuring and planning I do have some uneven spacing and slightly crooked words (cherish in particular drives me batty).
I spray painted the entire thing black on Tuesday evening and carefully removed the letters once it dried.
Despite using a brayer some of the spray paint leaked beneath the vinyl. I used a Sharpie paint pen to clean the letters up (Wednesday evening).
After:
And finally hung it tonight! Here it is in our nook off the kitchen.
I absolutely love it, crooked words and all :)
Sunday, October 24, 2010
Embellish Vintage Challenge
I decided to try the Embellish Vintage challenge as I liked the colour combo, but also because I was really inspired by the challenge photo. It made me think of this lemon tree stamp by Flourishes, although I wish the image was a bit larger.
Other supplies used were copics, PTI Teracotta Tile cs, PTI chai ink, and some Making Memories velvet and lace ribbon from my stash.
Thursday, October 21, 2010
Thank You!
Hello there,
Is it really October 21st already?? Wow. Time to start the Halloween crafting I think! For now though, here's a quick little thank you card to share.
I also posted over on the Pyrex Collective if you're into that sort of amazing goodness (tee hee).
Is it really October 21st already?? Wow. Time to start the Halloween crafting I think! For now though, here's a quick little thank you card to share.
I also posted over on the Pyrex Collective if you're into that sort of amazing goodness (tee hee).
Tuesday, October 12, 2010
Fall/ Halloween Porch Decoration
A few months ago I gave our porch a cheap makeover. As you can see, I like to keep things pretty simple. I finally got around to throwing the flowers and herbs away this past weekend and decided to do a little Fall/Halloween decorating.
I left our chairs and cushions but added the $5 garage sale urns my sister(lucky for me)never picked up. I stuffed the bases with newspaper before adding kale for the pumpkins to rest on. The little lanterns are from our rear deck now that we've put the patio set away. I love repurposing things we already own.
As for the Halloween decs I again kept it simple. I have a box full of all sorts of colourful/neon/light up stuff from when the kids were young but decided against that and just added a few things. I also used my Cricut to make a haunted house for the door and some cut outs for the window.
So that's it. Not much to it but I'm happy to have a new look without spending a dime. Other than the produce of course.
Thanks for peeking!!
Subscribe to:
Posts (Atom)